BecomeSingers is reader-supported. When you buy through links on our site, we may earn an affiliate commission. Learn More
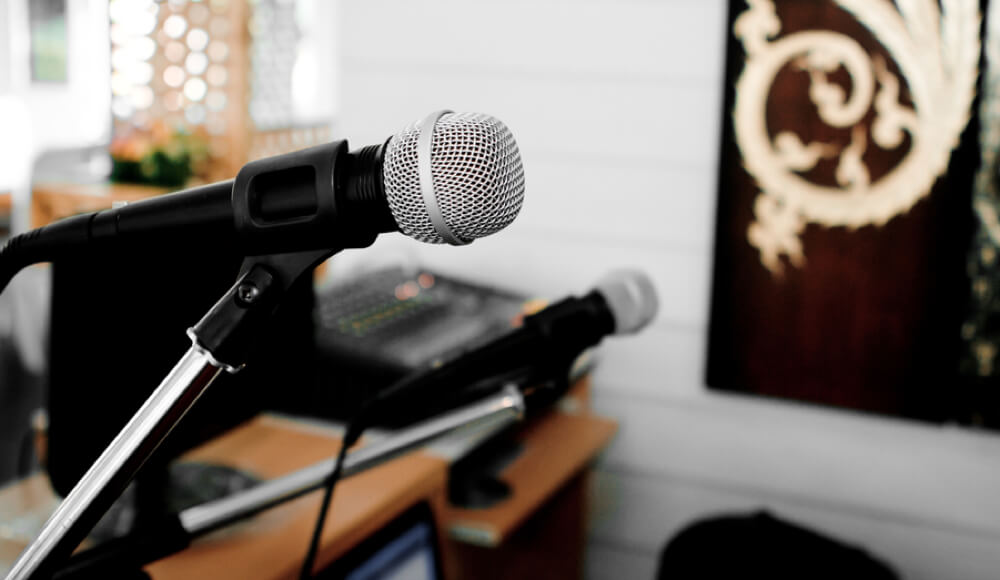
XLR microphones are not your regular computer mics. They are generally better models as they offer better clarity and higher-quality sounds than computer or headset mics. Indeed, due to its ability to isolate noise and produce balanced audio, it is no surprise that many radio studios and live events opt to use an XLR mic for their productions.
However, at some point during your use of an XLR mic, you’ll need to connect the mic to a computer. Not to worry, it is not a complicated process. We’ll walk you through how to connect your XLR mic to your computer.
Fun fact? XLR is the abbreviation for X Connector, Locking Connector, Rubber Boot.
Unlike the USB microphones that can plug directly into the USB ports on your computer, XLR microphones require you to have specific devices to make that connection. Thankfully, the XLR mic’s flexibility and output quality make all the hassle worth it.
Some of the devices you’ll need to connect your XLR mic to your computer are a microphone pre-amp and an analogue-to-digital (A/D) converter. We’ll go into details on how these two pieces of equipment come into play later on in this article. That said, keep reading to discover pro tips on connecting an XLR mic to a computer.
Table of Contents
3 Most Effective Methods For Connecting XLR to a Computer
If you have ever tried connecting an XLR mic to your computer, you will notice that no port on the computer fits the XLR microphone connector plug. In other words, you cannot make a direct connection to a PC.
However, with a preamp, A/D converter, and other gadgets, you can successfully make that connection. The preamp amplifies low-level analog signals from the microphone for a better quality signal. On the other hand, the A/D converter receives the pre-amp’s amplified signal and changes it to a digital signal.
That said, you can connect an XLR mic to a computer in three ways:
- Through an audio interface
- Through a USB mixer
- Through an XLR to 3.5mm adapter
1) Connect With Audio Interface
Using an audio interface is arguable the most reliable method of connecting your XLR mic to your PC. You see, the audio interface serves as both the pre-amp and A/D converter. This means it functions to amplify the analog signal and convert it into a digital signal.
Now, let’s examine how to use the audio interface to achieve your desired connection. First, connect your computer to your audio interface with a USB cable. After making this connection, plug in your mic to the XLR port on the audio interface.
However, the most audio interfaces has more than one XLR port, allowing you to plug in additional sounds such as the guitar. But, to make the connection with your mic, make sure you switch to ‘Line’ on the audio interface.
Also, when plugging your mic into the audio interface, make sure the audio interface is in the ‘off’ position. Then, choose an audio amplifier that gives your audio power boost up to 48 volts for better output.
2) Connect With USB Mixer
A USB mixer is remarkably similar to the audio interface, with the only difference being that the mixer is built to mix more than one sound Into one stereo stream. This means you can connect multiple mic inputs , guitars, and other instruments then mix the sounds via the control on the mixer to give one track.
Despite having the ability, as mentioned above, when plugged into your computer via USB, the mixer can only record one stereo track per time. Of course, it has a built-in audio interface, which allows it to do the work of an audio interface too.
So, to connect the USB mixer to the computer, plug the XLR mic into ⅛ inch cable. Then, plug the ⅛ inch cable into the mixer’s sound card. Finally, plug the USB sound card into your PC.
Typical applications of the USB mixer include:
● Livestreaming events
● Video conferences
● Live events
● Combination of live events and live-streams
3) Using XLR to 3.5mm Adapter
This is the most straightforward form of connection when it comes to connecting an XLR mic to your PC. However, it may not give you the same top-notch results an audio interface offers.
First, plug your XLR connector into your microphone’s base. Then plug the end of the mic cable (its ¼ inch) into the matching port (¼ inch) on the USB adapter.
Another option is to use a sound card with the XLR to the 3.5mm cable. In this case, plug the phantom AC power supply into the wall. Then, connect your 3.5mm cable with your soundcard and the other end into your microphone. After that, turn on your phantoms power supply.
However, you should note that this sort of connection may not give the desired output as the power boost is not enough. But, you can add a phantom power supply to boost the audio.
Common Issues You May Encounter While Setting Up Your XLR Microphone With Your PC
Now that you know how to connect an XLR mic to your computer, let us examine some common challenges many people face. Of course, we’ll also share some tips on how to troubleshoot these problems. So, keep reading to find out more.
The ‘No Signal’ Problem
This is probably the most common issue when it comes to connecting your XLR to the computer. Even after making all the right connections, your PC may not acknowledge the presence of a new device. Fortunately, more often than not, rebooting your computer may help resolve this problem.
Buzz on the Microphone
In many cases, XLR mics starting making annoying buzzing noises upon their connection to a computer. But, the problem is usually not with the mic. Instead, there may be a problem with how you set up your connection.
So, whenever you notice a buzz on your recording, check your set up. If you didn’t screw your XLR mic tightly, you’d undoubtedly encounter some buzzing. Also, if there is an active preamp in your setup, you may experience some buzzing. In this case, if you reduce the gain on the preamp, the buzzing should decrease.
Also, if you’re recording in a room that’s not very silent, you can cause a buzz too. Some XLR mics are very sensitive to noise and will buzz when they detect loud sounds. Shaky cables may also cause buzzes.
Incompatible Operating system
An incompatible operating system may mean that your computer will not recognize signals coming from an XLR mic. This is especially common with newer models of XLR mics. While most mics are compatible with Andriod, Apple and Mircosoft operating systems, some other models can be pickier.
It may also be that your operating system is too old for your XLR mic. In this case, the connection will never work.
If an incompatible OS is an issue you’re facing with your XLR mic, you’d have to upgrade your operating system. Or get a newer model computer to make the connection.
Audio Mixer Issue
More often than not, the audio mixer is usually the weakest link in a connection between an XLR mic and a PC. So, it is all too possible you may experience some issue with your mixer. Thankfully, there are quick fixes you can try. Here they are:
● Check the audio configurations on your PC. The settings may be the problem.
● Manually update your computer drivers for your audio interface. To do this, restart your computer while with the connection between it and the audio mixer in place.
● Try using your audio mixer with a new computer.
In Conclusion
An XLR mic is undoubtedly a vital piece of equipment that every audio professional should have. With this mic, you can achieve high-quality audio productions relatively conveniently. Thankfully, with the information in this article, you now know how to connect an XLR mic to your computer.
Let us know how it goes. We’d love to hear you!


