BecomeSingers is reader-supported. When you buy through links on our site, we may earn an affiliate commission. Learn More
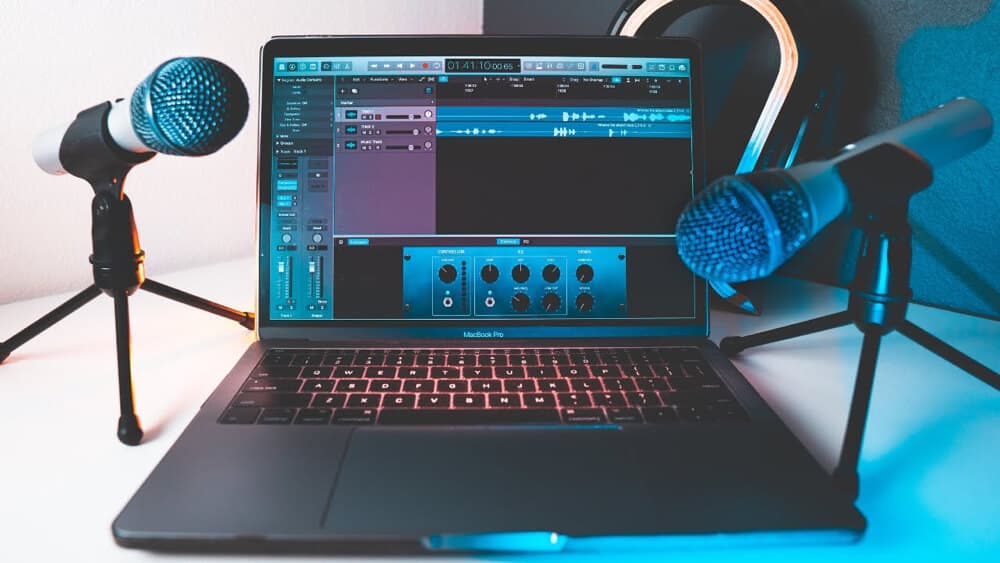
Even as a solo podcaster, you may feel the need to bring other people to speak on your podcast at some point or the other. Of course, this means you will need additional microphones for your guest. There is also the option of a bi-directional mic, but those are incredibly rare and expensive. So, you may have to face the prospect of connecting multiple microphones to your computer.
If you need crystal-clear audio for a podcast with numerous hosts or a live performance recording, connecting multiple microphones to your computer is the solution, but setting it up can be tricky.
In this in-depth guide, we’ll show you how to seamlessly connect multiple microphones to your computer without any hiccups.
Table of Contents
How to Connect Multiple Mics to a Computer
There are several ways you can connect multiple microphones to your computer. Of course, you’d want to choose the method that helps you achieve the best audio quality.
In this article, we’ll examine three of the most common methods for connecting numerous microphones to a computer. So keep reading to learn the necessary steps!
1) Using a USB Hub
Using a USB microphone hub to connect your microphones is the easiest, most basic way to use your microphones. However, as the name suggests, USB hubs are only compatible with USB microphones, not XLR. So if you plan to connect XLR microphones, this option is not recommended.
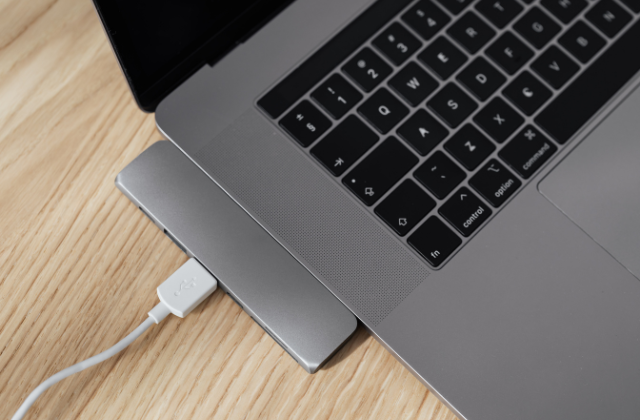
If this sounds like the perfect option for you, it’s recommended that you invest in a powered USB hub that can supply enough juice for all the mics you connect to it, as most microphones are passive and need the power to function. It’s also best to pick a USB hub that supports at least USB 3.0 as they are faster and better at managing power consumption compared to USB 2.0 and earlier models.
Now to connect the microphones, plug the USB hub into a free USB port on your computer, and plug each microphone into its own dedicated USB port on the hub. Verify that each microphone is recognized by your computer and is shown as a separate audio input. Open your preferred Digital Audio Device Workstation or software and start recording!
2) Using USB Audio Interface
Because of its compatibility with XLR cables, an audio interface is an ideal option for connecting several microphones to your computer. You can get a decent USB audio interface for about $50, although there are more expensive models that can help you get higher-quality sound.
After purchasing an audio interface with several XLR inputs, all you’ll need to do is plug your XLR microphones into it. After that, simply connect the interface to your computer via a USB cable, then start recording.
Digital audio workstations (DAWs) like Audacity and OBS Studio are available for free and can be used to record your tracks. In these DAWs, the audio from each microphone can be recorded onto its own track and edited independently.
3) Using An Audio Mixer
Another option is to connect the mics to your computer via an audio mixer. While a full-blown mixer isn’t necessary, it must have multiple XLR inputs to accommodate your microphones.
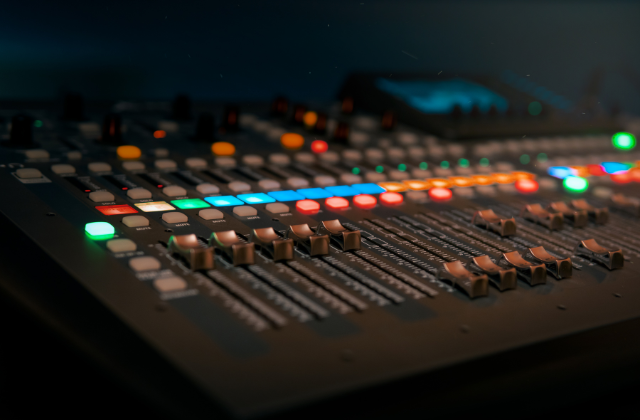
It’s also worth mentioning that even though a mixer is a little more pricey solution for connecting many microphones to a computer, its ease of use makes up for any shortcomings.
The method of connecting multiple microphones to a computer via an audio mixer is quite simple. All you have to do is plug the microphones into the mixer’s XLR inputs, then use a USB cable to connect the mixer to your computer. Then, use a USB cable to connect the mixer to your computer. It’s that easy!
Some budget audio mixers allow you to have up to four channels for your mics, which is very convenient. There are, of course, many audio mixers available that provide additional inputs if you need them.
Recording your podcast or band using a mixer gives you more creative control. You can connect the mixer to computers, iPads, and other devices. There’s also no need to limit the number of people you have on your podcast. If you’d like, you can even bring a full band! Just make sure to get an audio mixer with enough XLR inputs for the total number of people you plan to record.
Steps on Connecting Two USB Mics to a PC
You would assume that using multiple USB microphones would be as easy as plugging them in and launching your DAW. But on a PC, it gets a little more complicated than that.
Connecting two or more USB microphones to your PC is possible. To use it, though, you’ll need to get a 3rd party application like “Voicemeeter.”
Voicemeeter is a free audio mixer application that allows you to connect multiple USB microphones to one PC. All you have to do is select Voicemeeter as your input and output in your DAW’s audio hardware settings.
However, there is one thing you should know. This app will record the sound from all the microphones into one single track. This means you will have limited flexibility during editing. The positive side is that you can finally put all multiple USB mics to use and start recording with your friends. But, you should ensure the mics are all set at a similar volume so that one doesn’t drown out the other. Otherwise, your post-production may become a lot more complicated.
Now, let’s go over the steps for using Voicemeeter with multiple USB microphones.
- The first thing you need to do is plug your mics into the USB ports on your PC. Most computers will usually have at least two on the side or at the back.
- Next, launch the Voicemeeter app.
- Your computer should automatically recognize the USB microphones after a few seconds.
- Before launching your DAW, double-check that all the microphones are set to the same volume.
Keep in mind that Voicemeeter will record all your mic inputs into one audio track.
There is another option if you wish to record with numerous USB microphones but want individual tracks for each mic. You can download ASIO4ALL, which is a free, open-source ASIO-compatible audio driver for Windows. In addition to letting you connect multiple microphones or instruments to your computer, it also improves your audio quality and provides low latency, giving you greater control over audio settings.
So, if you are still finding your feet in the podcast world, we advise you to stick with Voicemeeter.
Steps on Connecting Multiple Microphones To A Mac
Using multiple mics on a Mac is relatively easier than doing with a PC. This is because Macs have a built-in application in their utility folder that helps you make the connection. Therefore, you do not need to download or purchase any third-party app. Here is a step-by-step guide to connect multiple mics to an Apple computer:
- Plug in your microphones to your computer or USB hub.
- Go to the “Applications” folder, click on “Utilities,” then “Audio MIDI Setup.”
- Once you’ve done this, you will see a plus + sign in the bottom left-hand corner of the screen. Click on it, and create an “Aggregate Device.”
- Choose the Aggregate Device that you just made. Select the two USB mics with corresponding numbers in the “In” column on the right side of the screen.
- Feel free to click on and rename your Aggregate Device to something more descriptive, like “My Mics.”
- Close the window, navigate to “System Preferences,” and click on “Sound.”
- You should now be able to see your two mics in the “Input” tab.
- Launch your chosen DAW, and select “My Mics” as the input.
- As you make new tracks, you can choose any of the two microphones to use as the source.
- Start recording!
Things To Consider When Recording With Multiple Mics
Now that you know how to connect multiple mics to your computer, there are several things to consider if you want to maximize the quality of your recordings. Let’s check them out.
Background Noise
Consider the ambient noise level when recording with numerous microphones. You don’t want to capture unwanted sounds like an approaching car or a shouting neighbor. Mics should be strategically placed to capture each person’s audio without picking up any background noise. And if you have the means, it’s better to invest in soundproofing and acoustic treatment for the recording space to get the best possible recording.
Clipping
Sound distortion, known as “clipping,” happens when an audio signal surpasses the maximum level that can be recorded by a microphone or audio interface, which is why while recording with several microphones, it’s essential to continuously check and adjust the input levels throughout the entire recording process, adjust the gain of each microphone so that even the loudest sound won’t cause clipping, check the sound levels before recording, and use a limiter or compressor to smooth out any peaks that could occur.
Sound Consistency
Since you’re recording with multiple mics, you undoubtedly need to look out for better sound quality from each mic. If possible, we recommend using mics that are from the same brand and of the same model. This way, you have a higher chance of getting similar sound consistency from each of them. But, if you cannot, don’t sweat it.
Mics from different brands can also work. But, you will have to pay special attention to their volume range and other specifics. Also, bear in mind that same mic or not, all mics have their unique nuances. So, try to keep track and account for this across-board.
Distance Between Mics
When recording with two or more microphones, it’s crucial to position the mics correctly. The mics have to be spaced apart to prevent phase problems and crosstalk, which is picking up too much of the other person’s voice. To determine the ideal setup, you can always experiment with several microphone placements to find the perfect sound.
Equipment
Recording with multiple mics is an entirely new ball game for the solo podcaster. Therefore, to smoothen your transition, it is best to go for high-quality equipment. You will also need to do a test run while monitoring the sounds from each mic to make sure they aren’t any issues. More often than not, top-notch equipment usually prevents any recording problems.
Frequently Asked Questions
What are the advantages of using an audio interface for connecting multiple microphones?
An audio interface allows you to connect professional XLR or 1/4" microphones to a computer system. It delivers superior sound quality with high-quality analog-to-digital conversion. It provides dedicated preamps with gain control for each microphone, low latency, multiple input options, and phantom power for condenser microphones.
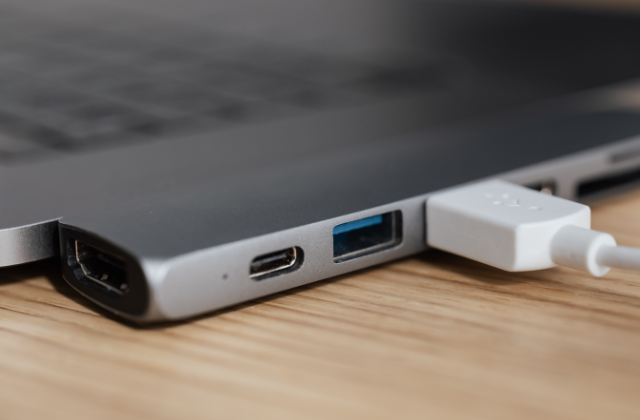
What types of cables do I need to connect multiple microphones to a computer?
To connect multiple microphones to a computer, you will need XLR cables for microphones with XLR outputs, 1/4" and/or 3.5mm TRS cables for certain microphones, USB cables for connecting USB microphones directly to the computer, and if two devices have different connection types, you might need to get an adapter cable.
What are some free high-quality applications for recording and managing multiple microphone inputs?
Audacity, Reaper, OBS Studio, Cakewalk by BandLab, and Tracktion T7 are some examples of free software that can record and manage numerous microphone inputs. These programs include multi-track recording with features for processing various microphone inputs and adjusting their levels separately.
Conclusion
Now that you’re equipped with the knowledge of connecting multiple microphones, the benefits of using an audio interface, the required cables, and available software options, it’s time to unleash your creativity and start recording with ease.
Whether you’re a podcaster, musician, or content creator, We hope that we were able to address any questions you had about the recording process.
Although connecting multiple microphones to a computer may need some technical know-how and advanced preparation, it’s a straightforward process that only becomes easier with practice.
With the right hardware and software, you can transform your computer into a powerful recording hub that accommodates various microphone setups. Don’t be afraid to experiment with different microphone placements and settings, and get ready to bring your audio creations to life!


