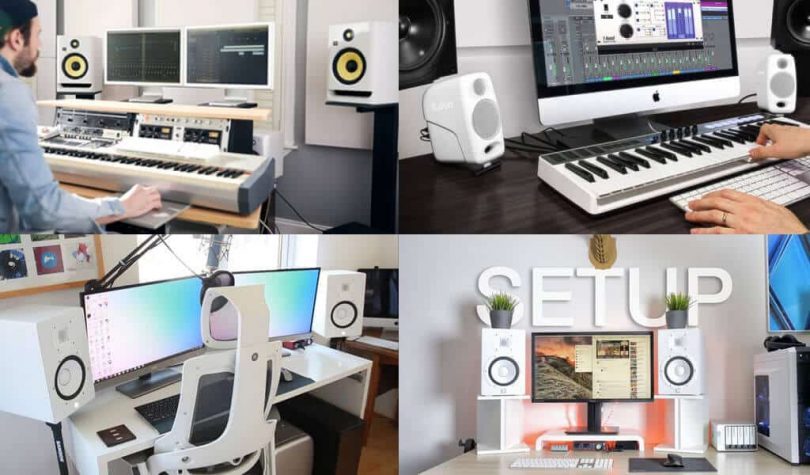
BecomeSingers is reader-supported. When you buy through links on our site, we may earn an affiliate commission. Learn More
After acquiring your condenser mic, the next step is to connect it to a power source and start recording. Of course, you probably remember that a condenser mic requires phantom power to function. If you don’t, there’s no need to beat yourself up. We’ll quickly catch you up on the essential bits you need to know.
A condenser mic is genuinely one of the best microphones out there. Unlike other mic options, a condenser mic contains a lightweight diaphragm, with a fixed plate to support it in the mic’s encasement. Also, the microphone has its own capacitor.
The unique build of the condenser mic makes it highly effective for capturing sounds clearly and accurately. Indeed, It is no surprise many recording professionals choose to use this mic for capturing vocals and other related sounds.
However, a condenser mic’s internal dynamics also means that it needs a source of power to operate. It is the power that enables the mic to produce its fantastic high-output sounds. Typically, manufacturers recommend that you see phantom power to run your condenser mic. This means you will need to invest in a preamplifier or related equipment for your mic.
Of course, the subject of phantom power raises the question of how to connect your condenser mic to the preamplifier. Thankfully, the process is not a complicated one, and we can walk you through it. But first, let us examine what a preamplifier is and why you should use it for your condenser mic.
Facts About Preamplifier?
A preamplifier, or preamp, is a piece of sound equipment that boost weaker signals till they reach line level. You’re probably now wondering what live level is. Line level describes the point or level at which sound signals can enter the amplifier and come out on the speakers.
You see, the sound signals that microphones generate (including condenser mics) are usually below operating levels. So, it is necessary to boost or get some gain on the signals. Most mic signals require gain levels between 30 and 60 dB.
Now, here’s what the preamplifier does. The preamp transforms the high-output impedance from your condenser mic into a more useful low impedance form. This is what then goes into the input system of your amplifier. The conversion of impedance is a crucial process in recording as it reduces the noise from signal cables.
Therefore, if you’re recording with a condenser mic (or any mic for that matter), you cannot afford to forgo a preamp. Thankfully, you don’t necessarily have to incur the cost of buying a preamplifier. Many audio interfaces come with a built-in preamp unit. More often than not, these units are enough to get the results you need.
Now that you know what a preamplifier is and what it does, let us examine how to connect it to your condenser mic.
A Step-by-step Guide to Connecting Your Condenser Mic to a Preamp and Amplifier
Connecting a condenser mic to a preamp and amp system is a relatively straightforward process. However, your first time rigging up the connection may be somewhat shaky. But, in time, you’ll master the entire connection process.
Before we dive into our tips on how to connect a condenser mic to a preamp, let us first outline the items you need:
- A preamp that supplies phantom power
- An XLR audio cable
- An audio adapter
Once you have all these, you’re good to go. Here’s how to rig your condenser mic to your preamp:
- First, unplug your preamp and amplifier from their respective sockets. You don’t want to risk sending out a random sound burst that may damage your speakers or even the mic.
- Next, plug the XLR cable from your condenser mic into any input with an XLR label on your preamp.
- Ensure that the input has a phantom power option, which you can toggle when the time comes.
- Next, plug the audio adapter into the output channel on your preamp. The output port is usually a ¼ inch jack. Then, connect the adapter with an audio patch cable.
- Plug the audio cable into an input channel on your amp.
- Finally, put your preamp and amplifier plugs back in their sockets and turn them on. Then, toggle the phantom power switch on your preamp to ‘on.’
- Your condenser mic should now be ready to start recording.
Benefits of Using a Dedicated Preamp With Your Condenser Mic
There is no doubt audio interfaces with built-in preamps can power your condenser mic relatively well. But, if you’re looking to go pro, you may need to consider acquiring an external preamp for your home studio.
Here are some of the advantages of using a dedicated preamp unit for your condenser mic recordings:
Improved sound quality
Although built-in preamps can produce excellent sounds during recording, they become less efficient at high gain settings. Most units can only maintain satisfactory sound quality until gains of around 40 to 50dB.
On the other hand, a top-of-the-line external preamp has a more sophisticated design and improved functions. As such, it will retain top-notch sound quality even with the gain at the highest setting.
More Gain
Unsurprisingly, most built-in preamps cannot achieve a gain level higher than 60dB (in the high-quality models). Lower standard audio interfaces max out around 40dB on their preamp. But, with a dedicated preamp unit, you can get decidedly higher gain settings.
Specialized Sound Characters
This is arguably the most popular reason most people acquire an external preamp — to get a particular sound flavor. Although built-in preamps can help you achieve a clean recording, that’s about all they can do.
However, if you want a special effect to your recording, a dedicated preamp is a logical solution. With this unit, you can achieve the suave ‘vintage’ sound typical to a transistor from the 70s. Or perhaps, you’d prefer the ‘dirty’ style of the tube sound from the 60s. With a dedicated preamp, the choice is yours!
Additional Features
If you have ever used a modern external preamp unit, you’d agree that they have some exciting new functions. For instance, you can carry out a phase reverse or even a pad switch right from the preamp. However, most preamps in an audio interface only have the most basic features.
Conclusion
Hopefully, you now have all the information you need to connect your condenser mic to your preamp successfully. It may take you a while to get it right your first time. But don’t sweat it. With time and practice, you’ll be making preamp connections like a pro.
Also, if you’ve only just arrived on the audio recording scene, you don’t need to worry about acquiring a dedicated preamp. You do not need it at this stage. Moreover, since you’re using a high-output condenser mic, an external preamp will not significantly improve your recording.
So, it may be best to stick to your audio interface with a built-in preamp. However, go for only top-quality audio interfaces.